Fantomas is a great F# for code formatting. If you have never heard about it, check it out here:
https://fsprojects.github.io/fantomas/
For convenience, there is a Visual Studio Extension to use Fantomas directly within Visual Studio. Unfortunately, this Extension uses an old Fantomas version that is not capable to handle the new F# syntax with _.MyProperty. Thus, I need to find a way to run a current Fantomas version with a keyboard shortcut in Visual Studio.
Install Fantomas
First, I install fantomas as a local dotnet tool from a command prompt:
dotnet tool install fantomasExternal Tool for Visual Studio
- Open the External Tools dialog box by choosing Tools > External Tools.
- Click Add to create a new entry.
- Provide the information:
- Title:
fantomas - Command:
C:\Program Files\dotnet\dotnet.exe - Arguments:
fantomas $(ItemPath) - Check the option “Use Output window”
- Title:
- Move the new entry to the top (or at least memorize the position in the list)

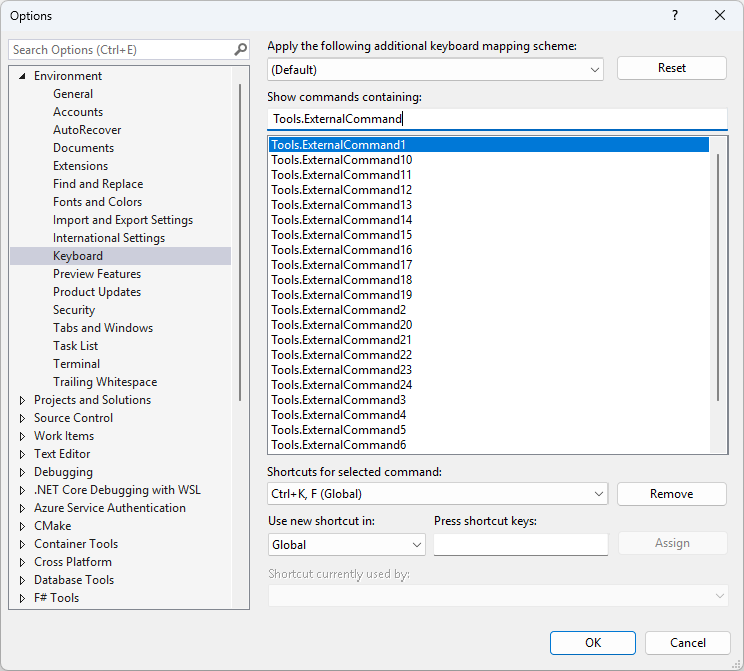
Keyboard Shortcut for External Tool
- Open the Options dialog box and navigate to Environment > Keyboard
- Find the command
Tools.ExternalCommand1- Note: The number of the command must correspond to the position in the External Tools dialog box
- Set the short cut by pressing the keys Ctrl + K and then F
- Check if the provided shortcut is already used
- Press the Assign button
- Complete with the OK button
Check it out
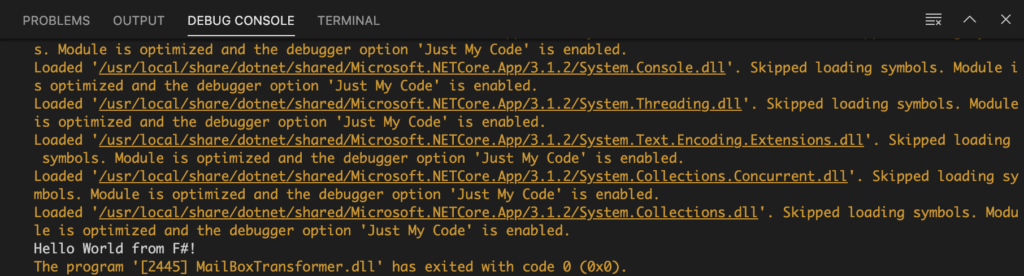
I open an F# source code file (fs), screw up the formatting, check that the new syntax with _.MyProperty is used and finally press Ctrl + K and then F.
Now, my code gets nicely formatted by Fantomas. That’s great, Yeah!
References
- https://fsprojects.github.io/fantomas/
- https://fsprojects.github.io/fantomas/docs/end-users/VisualStudio.html
- https://blog.nikosbaxevanis.com/2020/03/01/fantomas-fsharp-formatter-in-visual-studio-2019/
- https://marketplace.visualstudio.com/items?itemName=asti.fantomas-vs22
- https://learn.microsoft.com/en-us/visualstudio/ide/managing-external-tools?view=vs-2022