At the last ERPNext User conference, Joel showed my a cool thing for developing ERPNext. We can run Visual Studio Code on the local machine and connect with it to the (remote) ERPNext development machine or virtual machine through SSH. So what do I need to get it working?
SSH connection to the virtual machine
Our ERPNext virtual machine (VM) is a Debian system running on VirtualBox. So I check that the SSH server is installed and running:
sudo service --status-all This lists all services running on the machine and ssh is already running. That’s good.
Next, I need to ensure, that I can access the VM. I check the NAT settings in VirtualBox – there is already one for ssh on port 22. I create a second NAT on port 2222 to enable freeing up port 22, just in case.

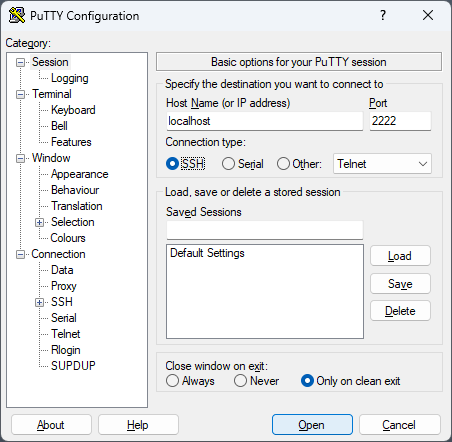
Last but not least, I check the connection with PuTTY. That works on port 22 and as well as on port 2222.
Remote – SSH on Visual Studio Code
In the Visual Studio Extensions section, I look for the Remote – SSH extension and install it. Futher down the line, two other extensions were installed: Remote – SSH: Editing Configuration Files and Remote Explorer.
Then, I follow this tutorial: https://code.visualstudio.com/docs/remote/ssh-tutorial
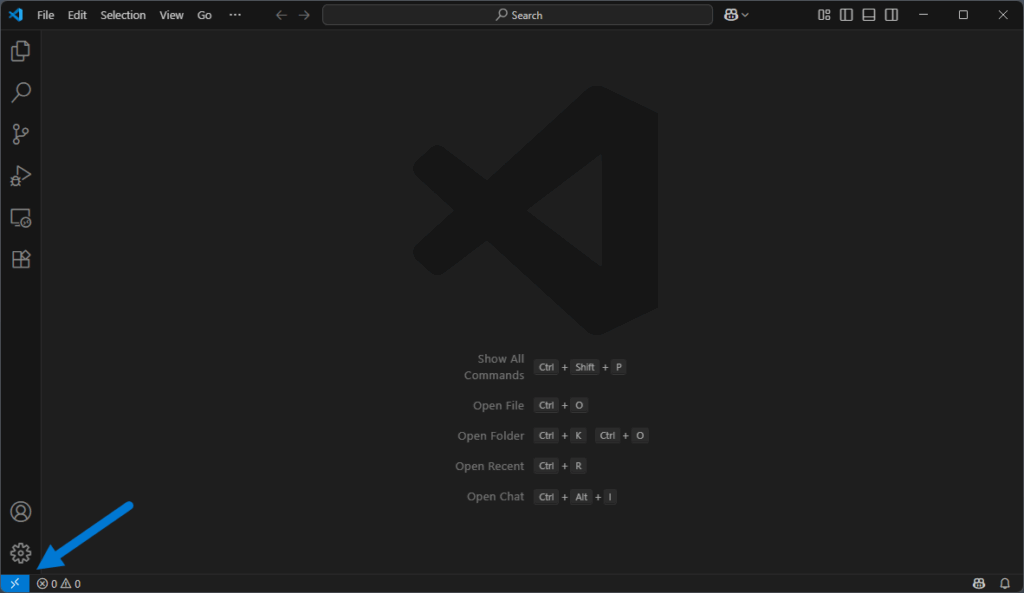
- Click on the remote icon in the bottom status bar
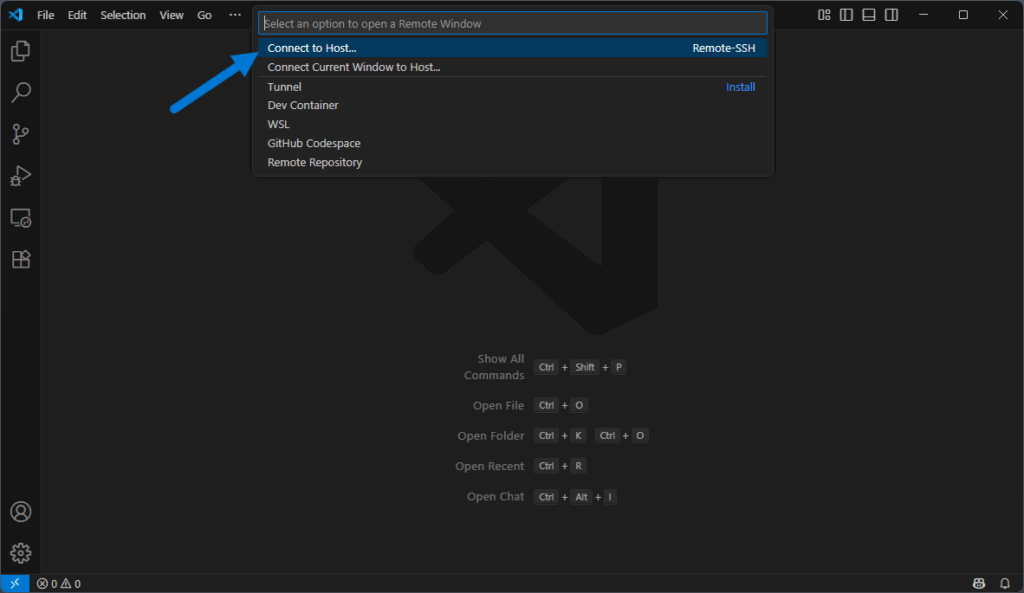
- Choose the Connect to Host… option
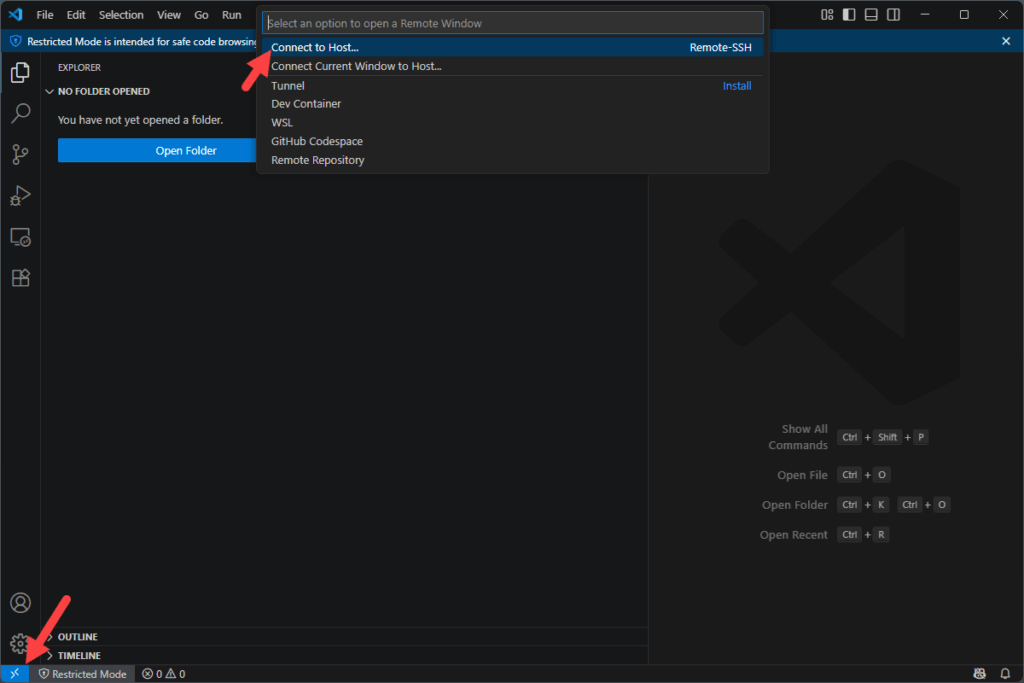
- The select the + Add New SSH Host… option
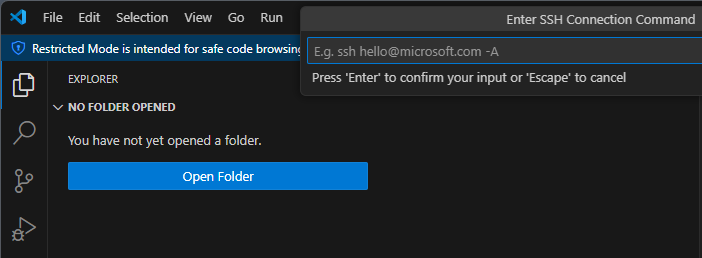
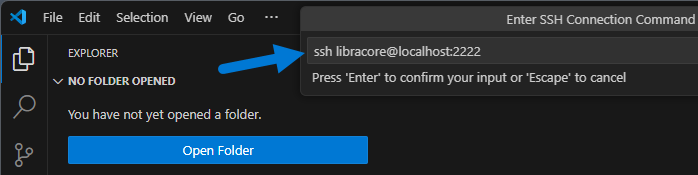
- Enter the connection command ssh libracore@localhost:2222
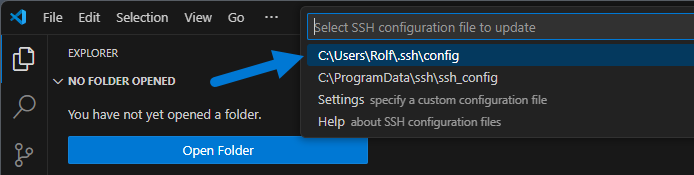
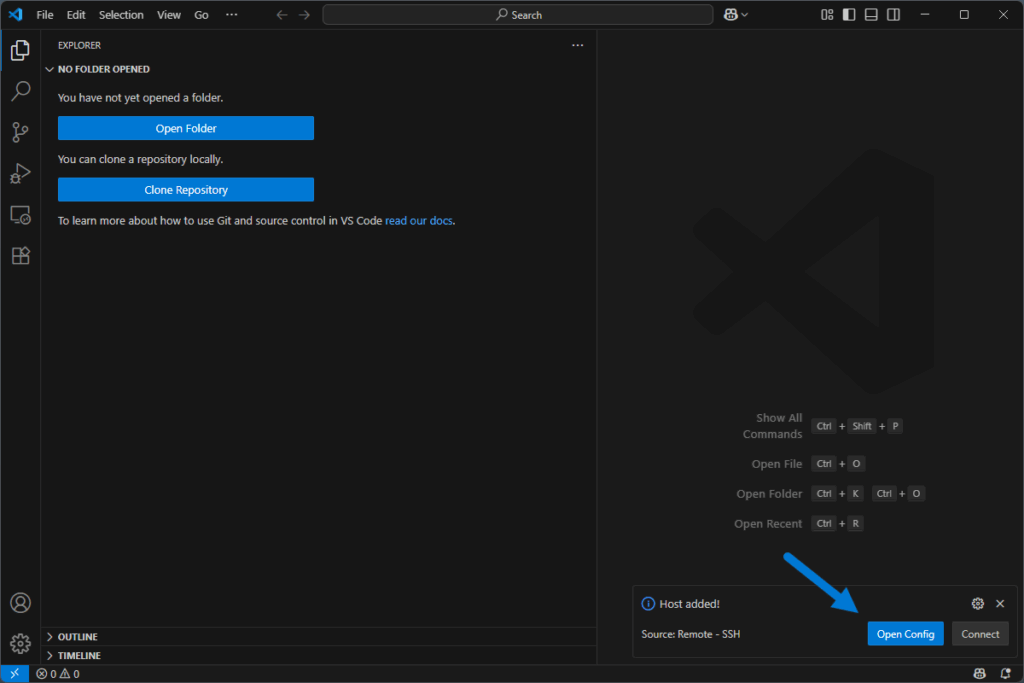
- I select the config file in the .ssh folder of my home directory as configuration file to persist the settings:
- Side note: Why does my hosting / my blog-system prevent me from using paths ans commands? Very anyoing.
- I also check the configuration file:
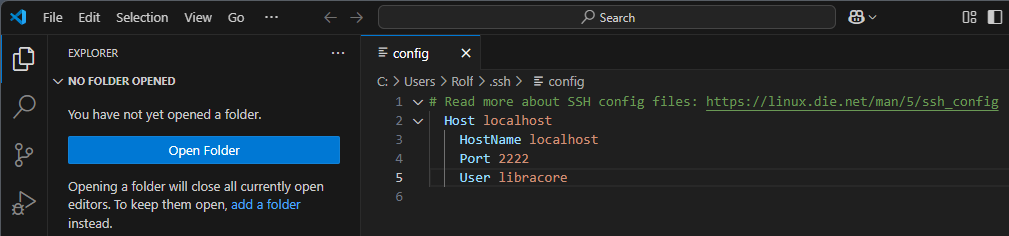
- Update the host name to erp_dev_vm
- Save the file with Ctrl + S
Connect with Visual Studio Code to the ERP development machine
Now it’s time to connect to the ERP development machine. Follow the screenshots…
- Click on the remote icon in the bottom status bar
- Choose the Connect to Host… option
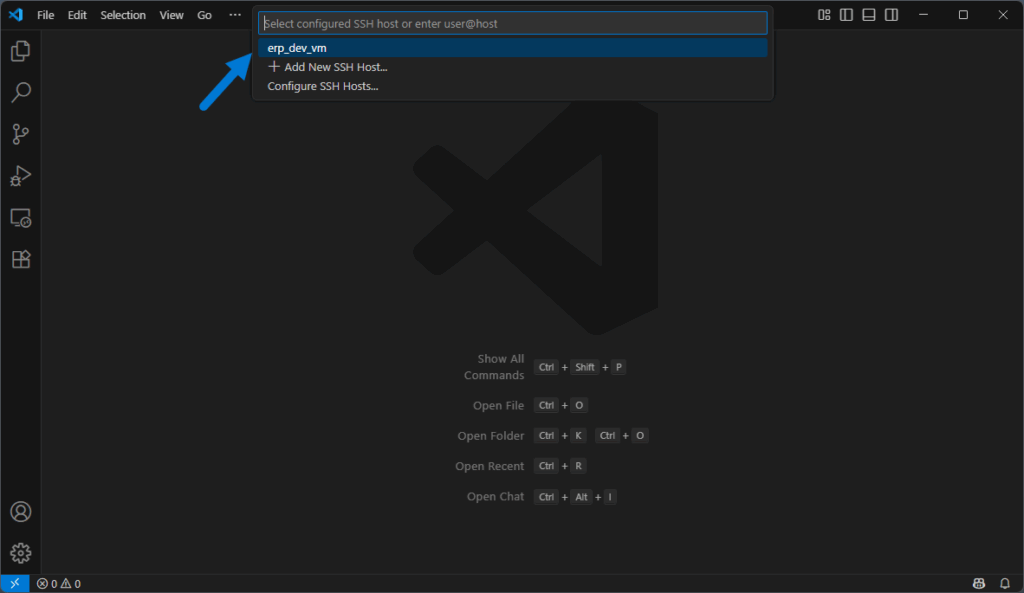
- Select the erp_dev_vm
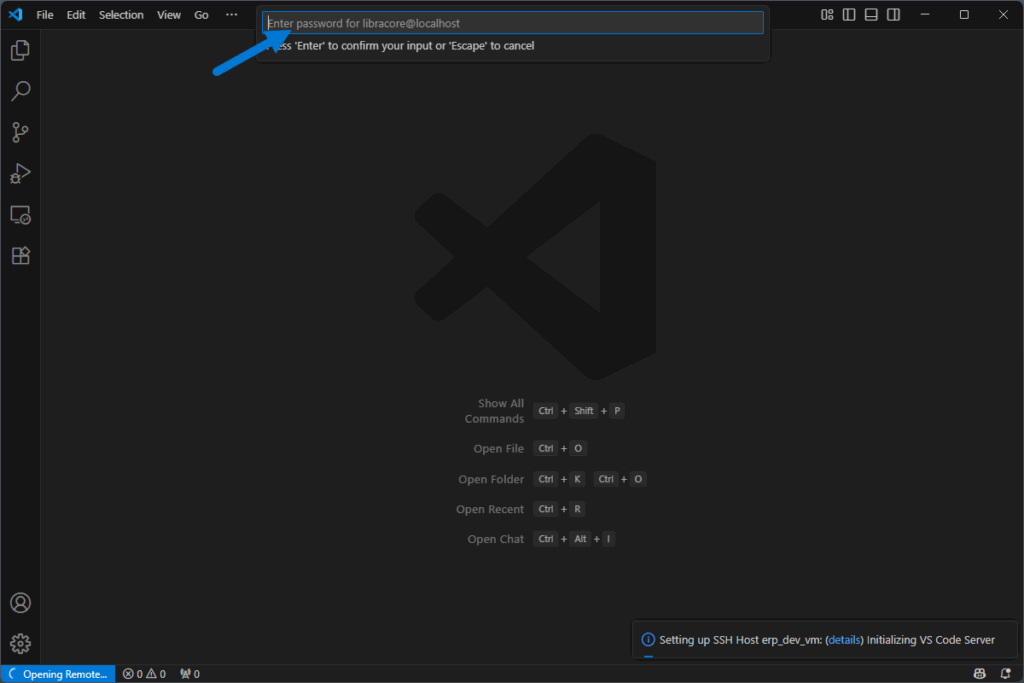
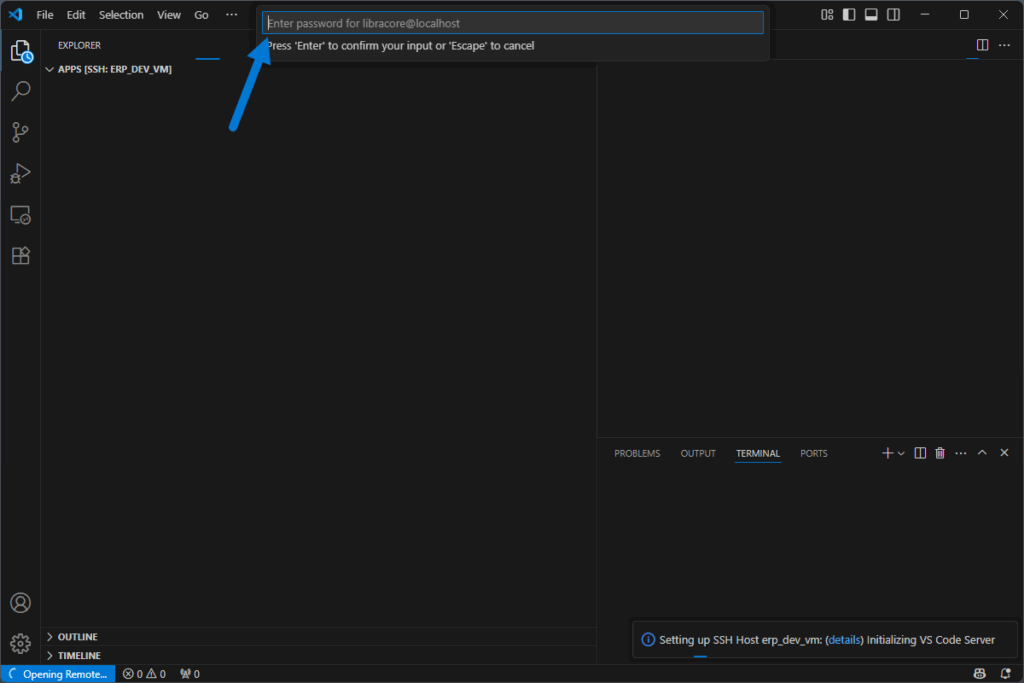
- Enter the password for the user on the ERP development machine

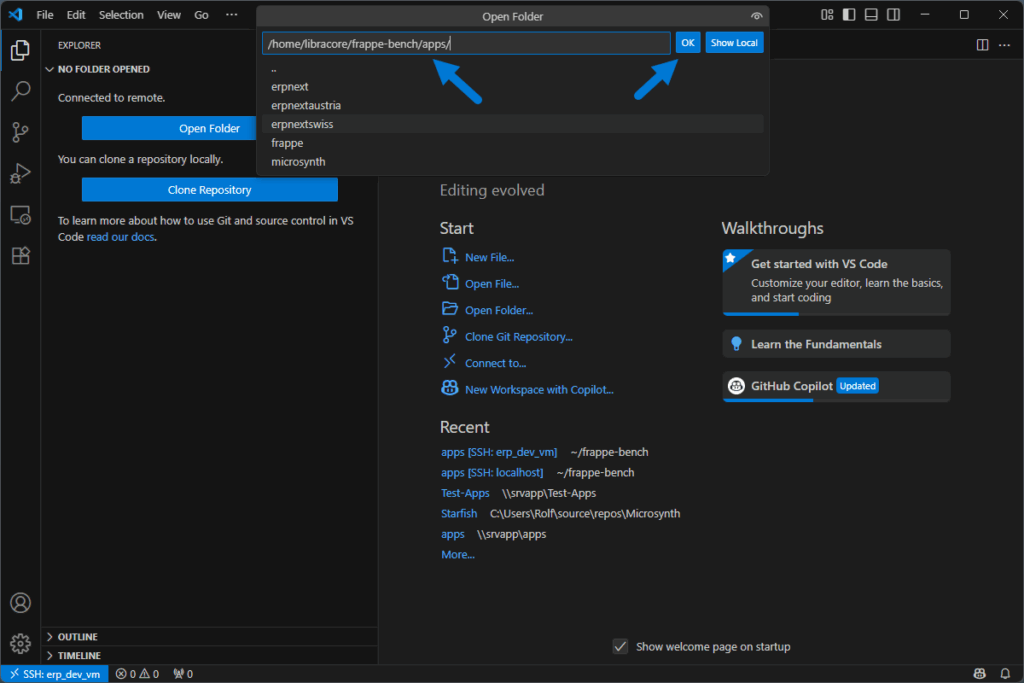
- Set the path on the remote ERP development machine to open
- For some reason, Visual Studio Code has to open a new window and requires again the passwort. So, …
- Enter the password for the user on the ERP development machine

Reconnect again with Visual Studio Code to the ERP development machine
If I close Visual Studio Code and open it again, it directly asks me for the password for the ERP development machine.
- So, enter the password for the user on the ERP development machine again
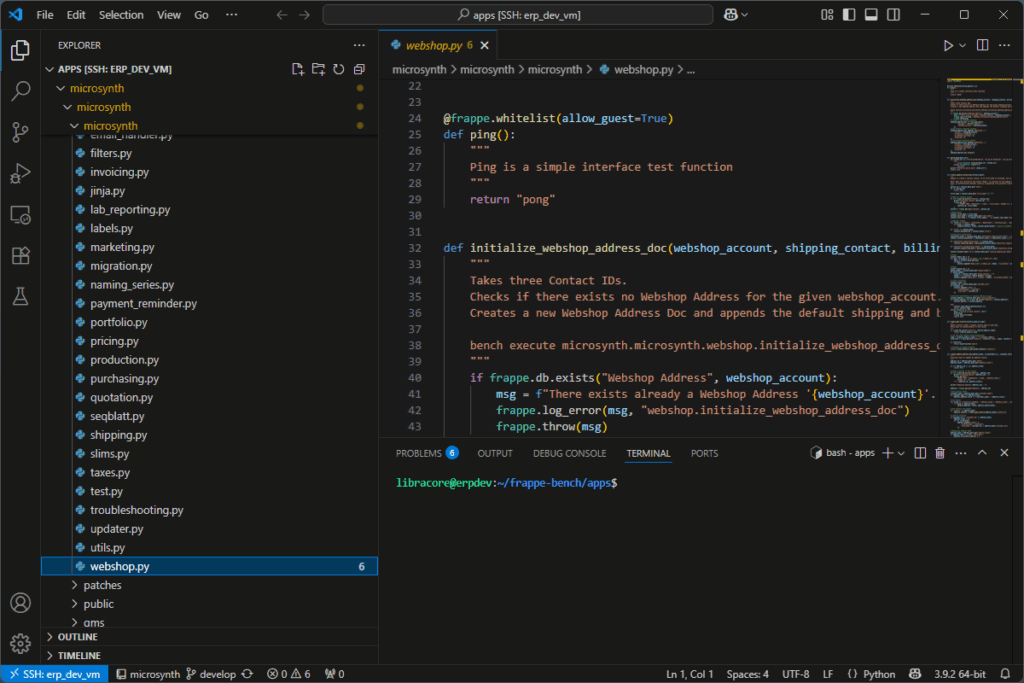
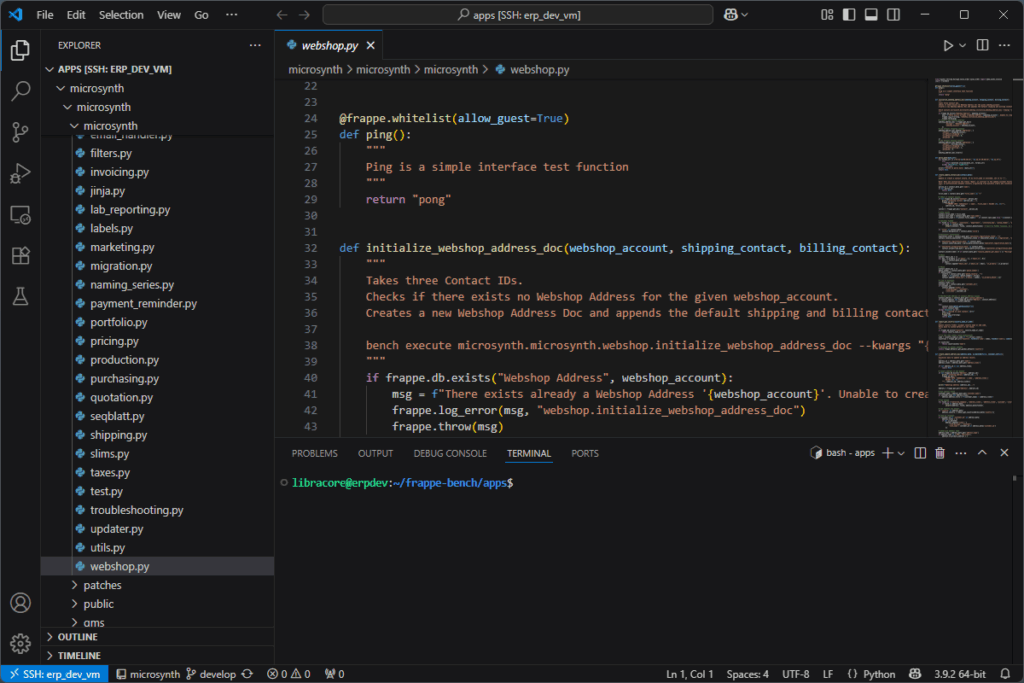
- And now, I see my code again!
So that’s it for today. I am now able to connect to the ERP development machine with Visual Studio Code running on my local machine. 🥳